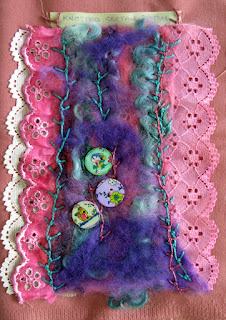
I had a session of making more art buttons, and used some of the clear buttons I received from Sherry which I mentioned yesterday. I have an article in the present issue of Cloth Paper Scissors on how to make/alter buttons like these. They are offering
free trial issues if you have never seen the magazine before.
For the buttons above I used a clear button and a laser print, some old designs I had on the computer.
The pink and green ones below are artwork [prints with scored foam and ink pad], also clear buttons.
These were an ink jet print, a square labyrinth I also had on the computer and I used clear buttons.

The spotted one was a cardboard domino [from a cracker maybe?], the other a laser print, both with clear buttons.
The sheep are an inkjet print on clear buttons - part of a design for fabric

These below were made a little differently to the above. They are also made with a laser print but the white paper is removed just leaving the black toner ink. These were not covered in the article so I will explain here. Use buttons that are pale or clear as the ink
will not show up on dark buttons. Glue the right side of the art
work and the flat side of the button and press together firmly. Let it dry
completely. To remove the paper, place the button on a cutting mat and score around the button with a bradawl. I find it works
best if the bradawl is dipped in water first, just to dampen it, but
not soaking. Tear off the excess paper. Lightly dampen the paper all over the
button with your finger and gently rub off with a thumb. The paper
should come off but leave the toner ink on the button. If you rub too
hard the ink will come off too, so be gentle. Let the button dry and repeat the process if it looks like the paper as reappeared. Use an emery board to smooth any loose bits of paper around the edge. Use the bradawl on a cutting mat to poke through the stitching holes, both sides. You could apply
a top coat or two of acrylic wax to the surface if the ink is on the top of the button but I have not done this on the clear ones below as the ink is on the underside of the button.

I used coloured buttons for the ones below and the inside of recycled envelopes [these particular ones were from a blogging friend Doreen in Australia] There is a slight fault on the green one - this is because I didn't put the glue on properly.


